Dozer configuration guide
Here we assume that you have already successfully installed the app. If not, this is a right time to do it. Here is a guide.
First run
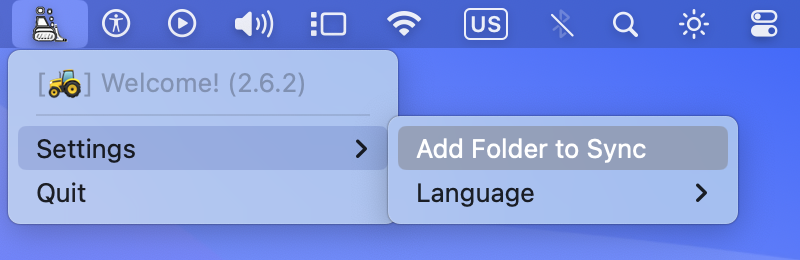
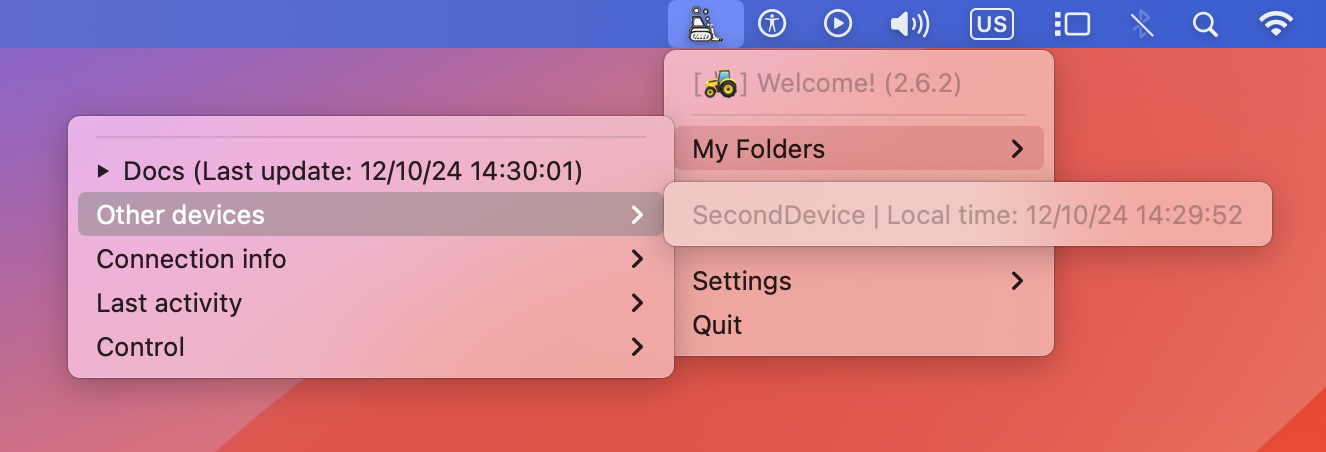
With successful run you will find Dozer icon in the tray.
or very similar on Windows and Linux.
Configuration
Configuration is the same and straightforward for all platforms (Windows, macOS, Linux).
You will find Configuration Wizard by clicking on Add Fodler to Sync button in the tray.
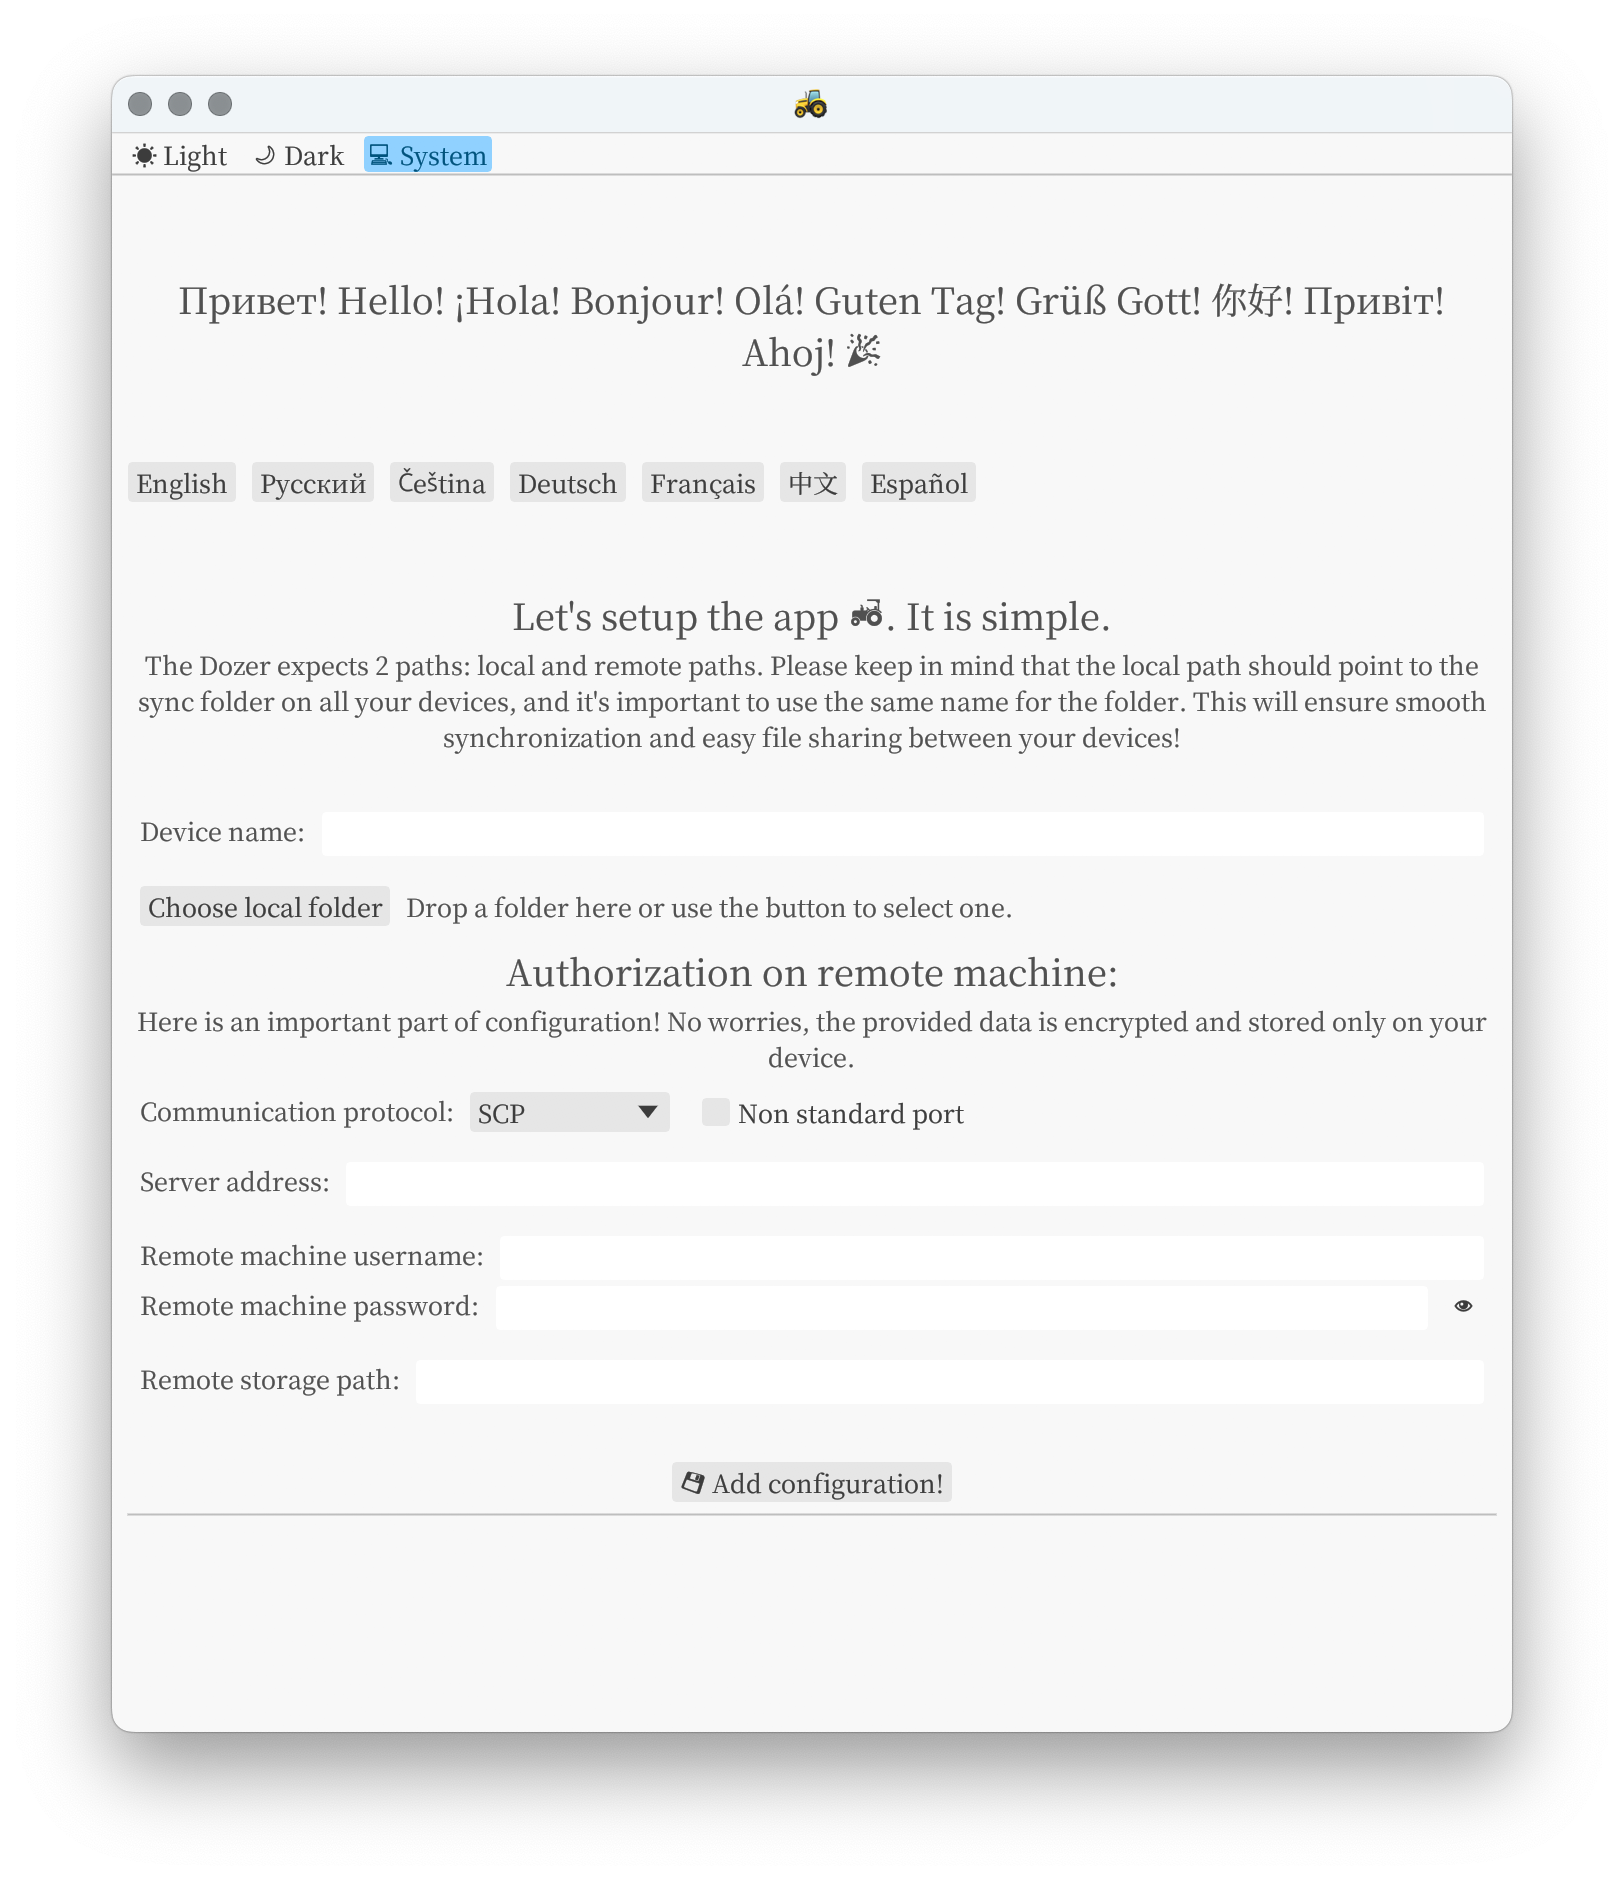
You will see (since v2.3.10 language translation are available):
Example
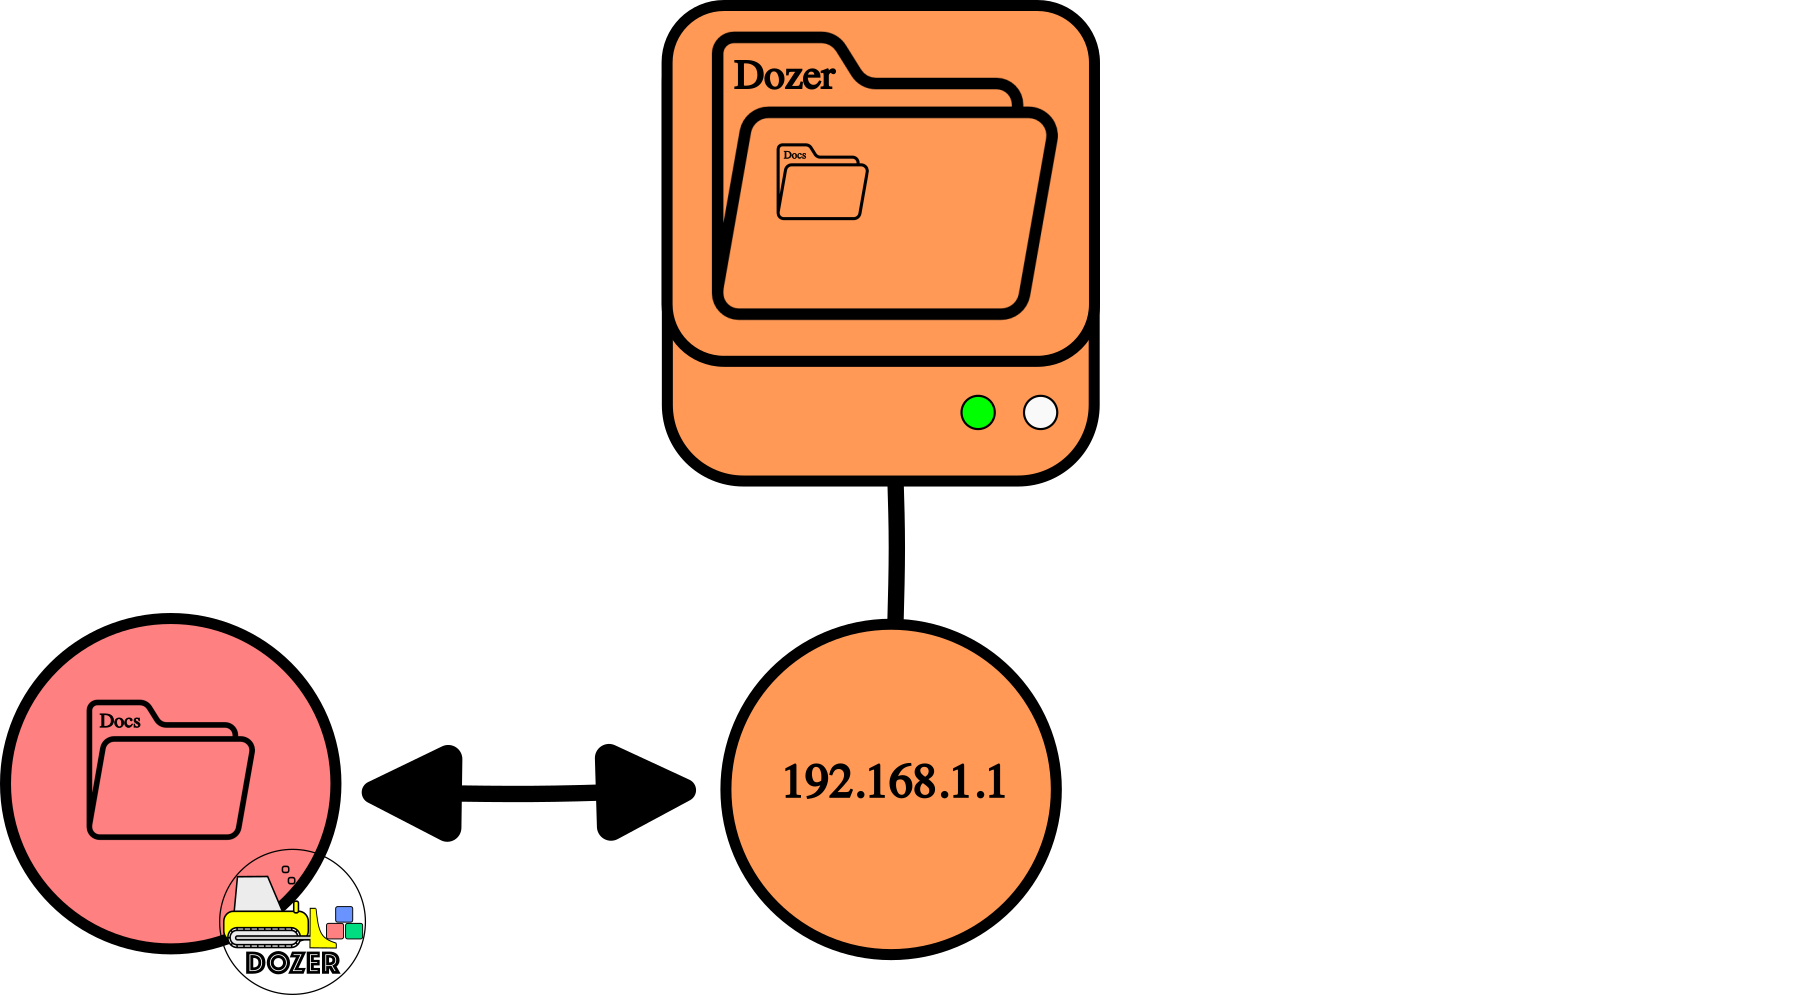
There is a folder named Docs that needs to be synchronized.
At the same time, there is a Raspberry Pi that never turns off located at IP address 192.168.1.1.
The settings could look something like this:
Device name: FirstDevice
Local Folder: Create a local folder and drag it to the window.
Server address: 192.168.1.1
Username: raspberry # provide yours
Password: raspberry # provide yours
Remote storage path: /home/raspberry/Dozer
By such a setup you configured it like this:
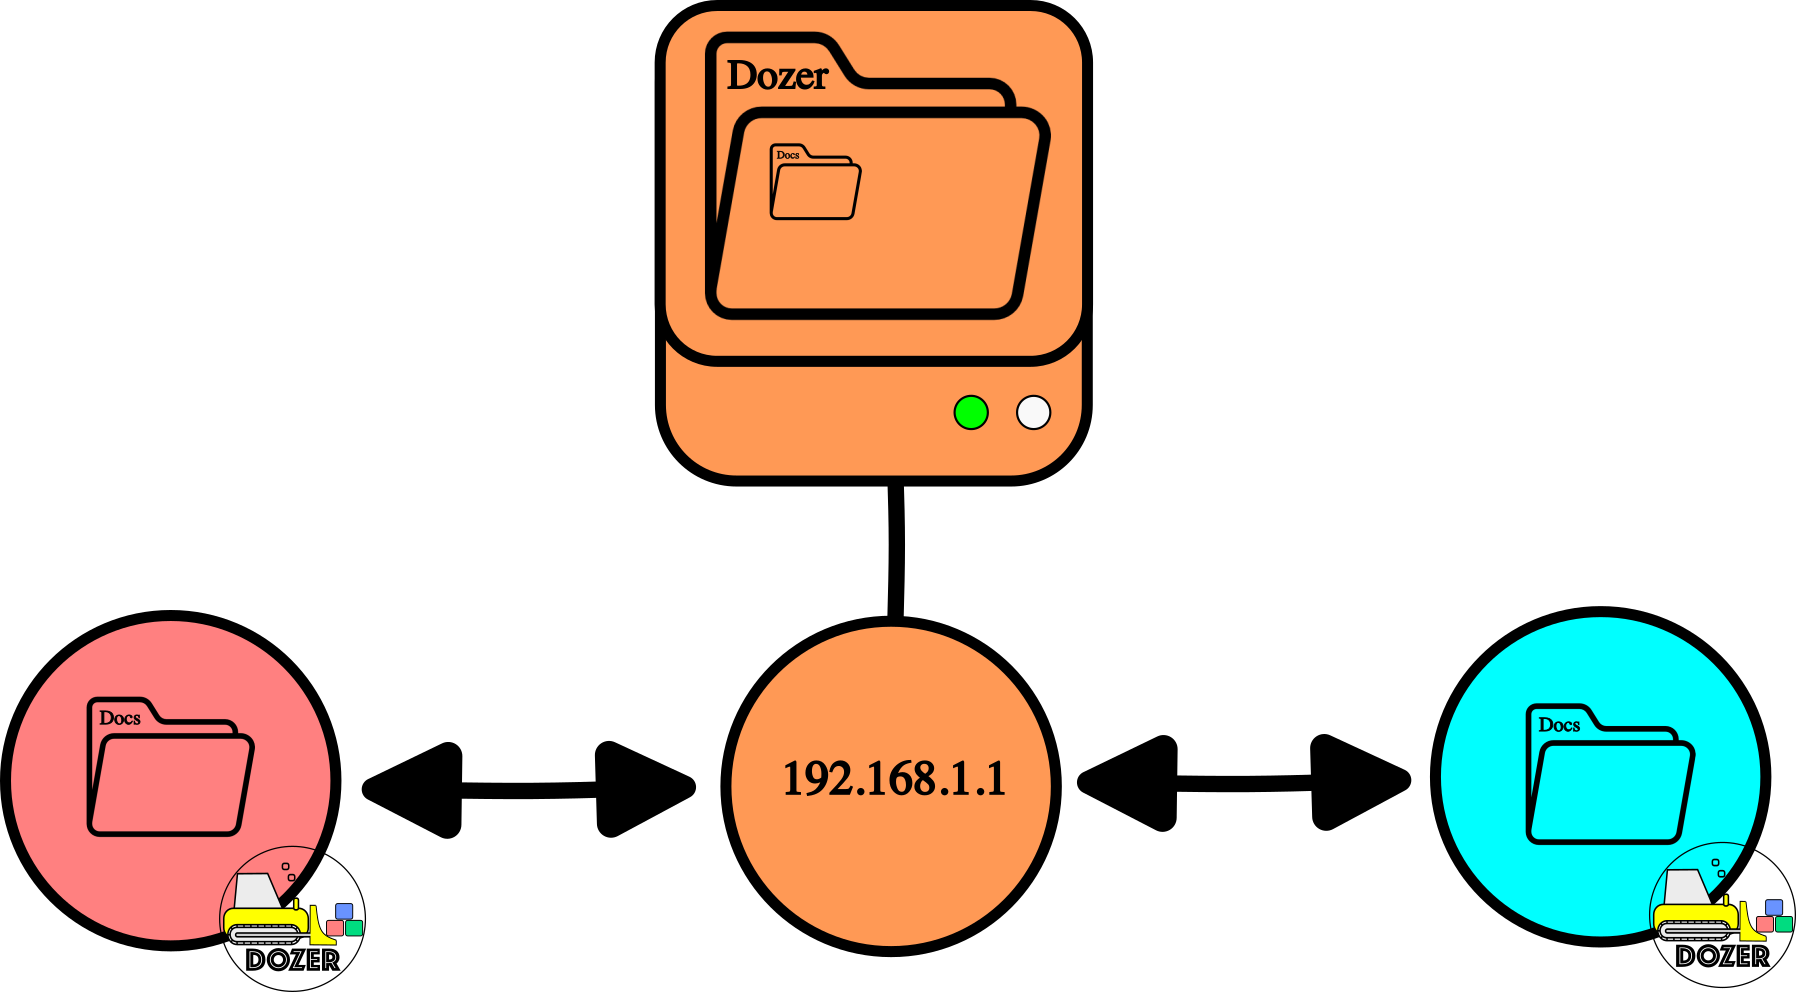
There is an another device should also be aware of any changes in the Docs folder.
The settings are:
Device name: SecondDevice
Local Folder: Create a local folder and drag it to the window.
Server address: 192.168.1.1
Username: raspberry # provide yours
Password: raspberry # provide yours
Remote storage path: /home/raspberry/Dozer
So your final configuration:
Sync after second device configuration
Congratulation! We made it!
No tray commands
Dozer does have a special commands:
Sync all now button can be called by creating sync_now flag at the root of the sync folder:
touch sync_now
Deactivate button by creating deactivate flag at the root of the sync folder:
touch deactivate
To check if Dozer is currently syncing, search for the file dozer_busy_now at the root of the folder.